Showing posts with label Tutorial. Show all posts

Monday, September 13, 2010

A Small Herd of Spiders

Because I am impatient and one of my readers mentioned making the legs longer I had to make more spiders!  Eek!  Now I hate despise real spiders, so I didn't want mine to be scary, I wanted them to be cute!
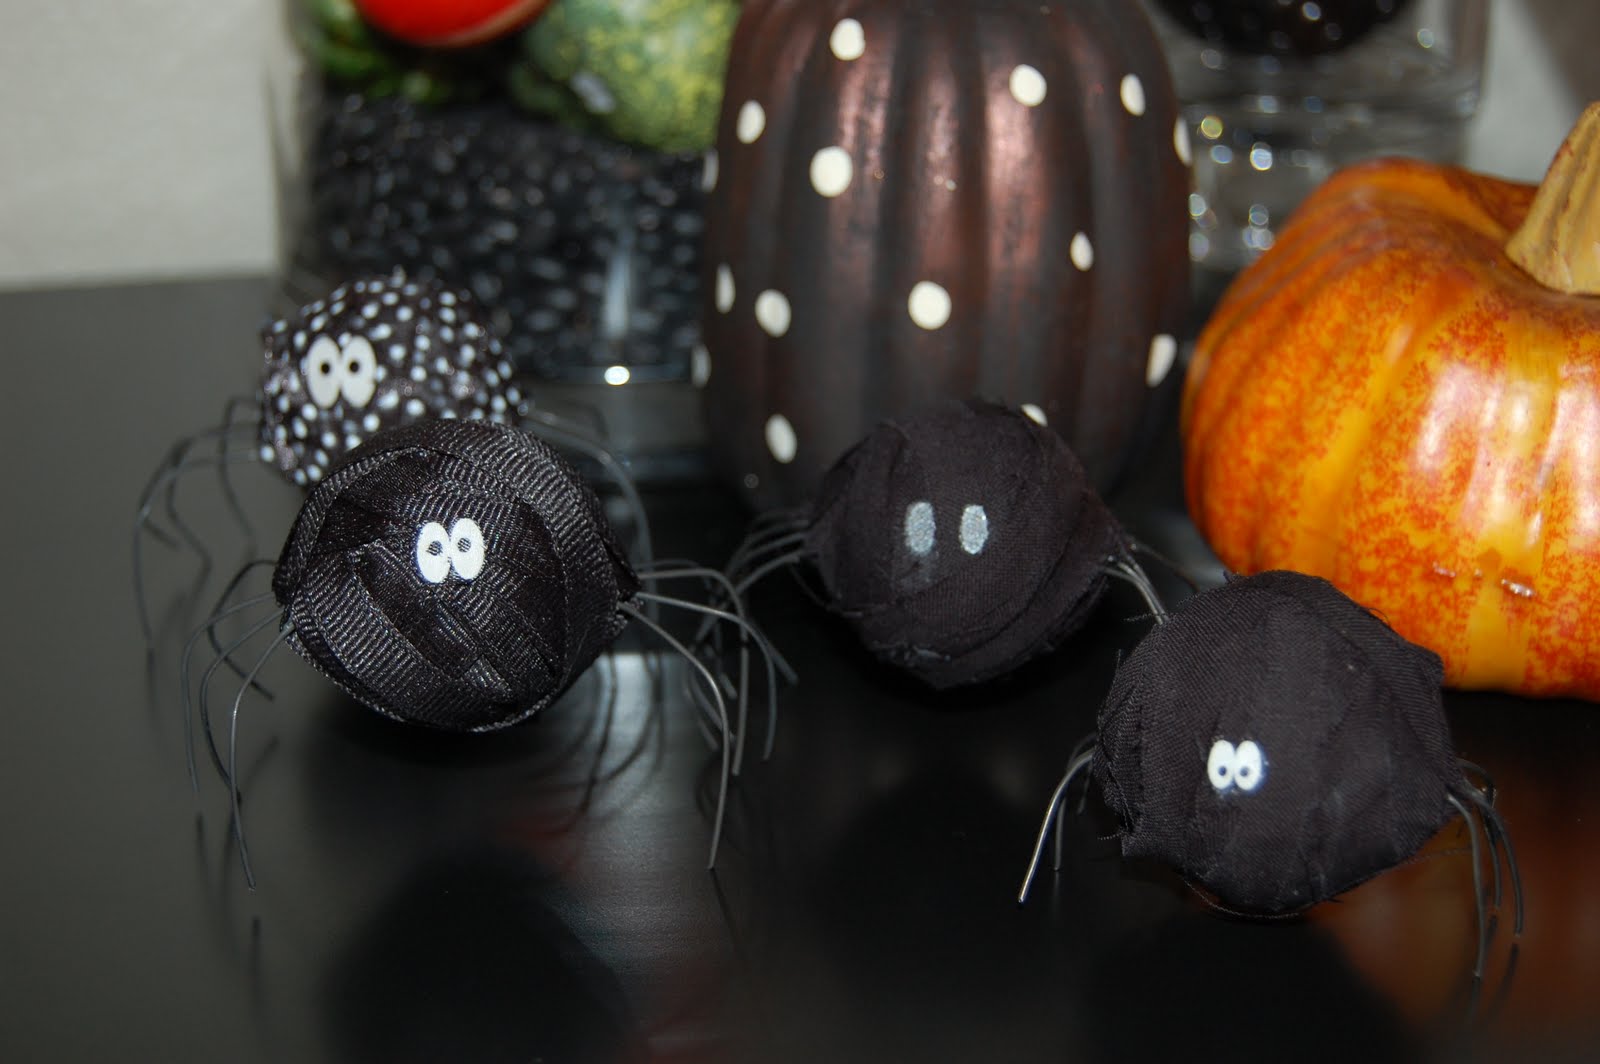
Semi Transparent Polka Dot Ribbon
Black Cotton Fabric
Black Grosgrain Ribbon
Black Cotton Fabric
 I think they are so stinking cute!  And they cost next to nothing!  I spent $1 on the table tennis balls at the Dollar Tree and I had everything else!  Yipee!

Dollar Tree Purchase, also used these in my apothecary jars
The table tennis balls measured 5" around, so I made 4 marks on each side 2.5" across from each other.
4 dots on each side
Next I used a teeny tiny drill bit and drilled the holes.


I cute 4 pieces of 20 gauge wire approximately 6" long and threaded it through my spider.
This is were my tutorial falls apart.....Blonde Moment!  I forgot to take pictures of the rest.  Boo!!  Anyway, make sure your wires are even and hot glue on each side.  It doesn't matter what it looks like because you will cover it up.
*When I make more I will update with pictures!*
Take your fabric or ribbon and hot glue it to the bottom.  Start wrapping your soon to be spider!  When I needed to change directions I would cut the fabric and hot glue it to the bottom and start over again.  You can wrap as much or as little as you like, I just made sure to cover all the white spots.
When you are finished wrapping, bend your legs down so your spider stands on its own.  You may have to trim a leg or two.  You can use whatever you like for the eyes, 1 of my spiders has silver sharpie ovals for eyes.  For the other spiders I found some really cute "eye" ribbon at WalMart.  I cut out 3 sets of eyes and hot glued them on.

I really want to make some more, but I need to go buy some more ribbon for variety!  How cute would a gingham spider be?!?! 

Featured on Bobbypin's Boardwalk

Sunday, July 25, 2010

Tissue Paper Pom-Poms

Taylor is turning 2 at the beginning of September and I am already starting to make decorations!  I can't believe my baby is going to be 2 in 6 weeks :(  Today I asked her if she would stay little forever and she said that she would, I told her she couldn't grow or learn any more words and she agreed, she seemed cool with it!

The theme for her party is going to be watermelons, I think, at the very least it will be a pink and green birthday!  I was googling tissue paper the other day and found a tissue paper pom-pom tutorial on Martha Stewart's site here.  I am not a huge Martha fan but I can't argue with cute and cheap!


Just in case you don't want to go check out her site I have included my picture tutorial.


I used the Hallmark tissue paper from WalMart for the pink and green pom pom-poms.  There were 9 sheets per package for $1.  I made 4 pom-poms from each package.  I bought the white tissue paper at the Dollar Tree and cussed it every step of the way, it wasn't as strong as the WalMart tissue.


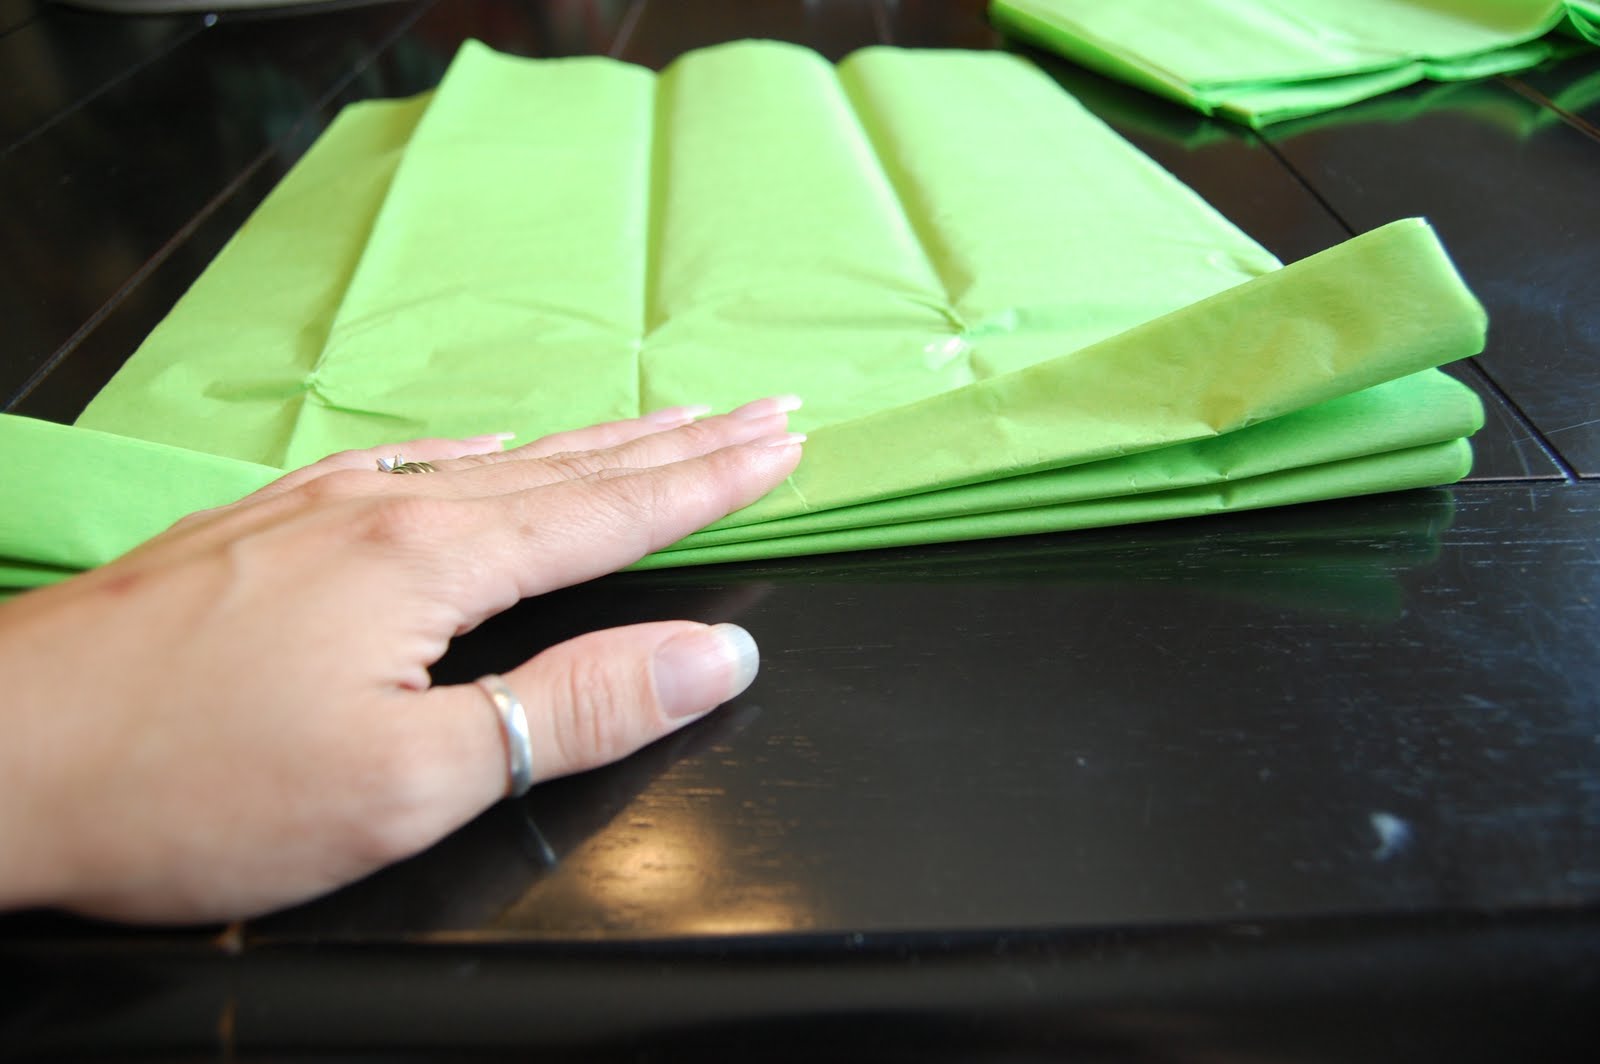
Make approximately 1.5" wide accordion folds.


Tie a piece of craft wire around the middle of your paper, you could also use twist ties or a piece of pipe cleaner.  Round the ends of your tissue paper.


Start by pulling up the top layer of tissue paper and fluff.


Continue to pull up the tissue papers and fluff.  After you have pulled up approximately 4 sheets of tissue turn it over and work from the other side.


After you have finished pulling all of the papers start to fill in the holes by fluffing to your liking!


Here is one of my finished pom-poms.  Aren't they going to look so cute hanging from the dining room chandelier!  6 weeks and counting!  At least I have a good head start!

Monday, June 28, 2010

4th of July Decor....Finally

I finally found the time quit being so lazy to make 4th of July signs for my front step post things, click here and here to see them in the making!


I used a 1x4 for the following project.  I cut a piece 11" long, another piece 4" long and the last piece 7" long.  I set the 4" piece aside and cut the other 2 pieces into thirds.


I didn't really have to cut the boards into thirds, but it made it so much easier to paint the stripes, I didn't have to tape anything off!


After I gave my paint approximately 3 minutes and 48 seconds to dry, I glued it back together using wood glue.  After letting the wood glue sit for approximately 4 minutes, I took it out to the garage and sanded and glazed it.  I kind of wanted it to look dirty and old.


Dirty and old?  Check!  Next I cut a few stars out of vinyl to finish my flag!  The little wood block is supposed to be a firework, I was running out of time before the girls woke up from their nap, but at least it passes the red, white and blue test!


At least my front step is ready for the 4th of July!


Saturday, May 22, 2010

A Friend for my Welcome Post

#2 completes my front step.....for now at least!  I love the Welcome Post that I made last week, but I thought my front step didn't look complete.  So I decided to make her a friend!

Introducing the skinny!  I ♥ her!

For this project I cut a 2x2 24" long, I cut down a 1x6 into 2 3.5"x3.5" squares and 2 2.5"x2.5" squares.  I centered the squares and screwed through the middle into the 2x2.  


Did I mention I started this project at 10:30 after the girls went to bed and needed to spray paint?  No problem I made my own indoor spray booth!  My husband would probably kill me if he knew I spray painted in the garage, but what he doesn't know won't hurt anyone :) 


After I sprayed it black I am addicted to black and distressed it.  I used a cheap mug hook I bought at WalMart and screwed it in near the top.


To make my sign I cut a 1x4 down to make a 3.5"x4.25" rectangle and sprayed it heirloom white.  I gave it 5 minutes to dry and used my ink pad on the edges.  I used my Cricut and vinyl to cut the fleur de lis.  I drilled a hole near the top and used ribbon for the hanger.  I added some cheap upholstery tacks to the corners for a little extra.


And now I believe that my step is complete!


And remember the pot casualty from last week?  Nothing that a little gorilla glue couldn't fix, it's as good as new!  We are heading to the bridal shower tonight so I will post pics of everything we made tomorrow!  Can't wait!

Linking to
Visit thecsiproject.com

Saturday, May 15, 2010

While Daddy's Away, Mommy Will Play

So my husband is gone for the next two weeks, which means two weeks of crafting and projects without feeling guilty!  It was finally a nice warm day today, so the girls and I headed to Ace for materials for today's project.  We made it through the store quickly and with no drama!  And we came home with this.
 2x2, 1x6, 1x4, 4x4

I had seen a really neat tutorial here to make your own candle sticks and I had seen a tutorial here to make candle stick hangers at Drab to Fab.  I loved the candle sticks but didn't trust my kiddos not to touch in the house (4x4's are heavy) so I decided to combine the 2 and make something for my front step.


I cut my 4x4 24" long.  I cut my 1x6 down to make 2 5 1/2"x5 1/2" squares and 2 4 1/2"x 4 1/2" square.


I stacked the 4 1/2" square on top of the 5 1/2 square and screwed the 2 together from the bottom.  I then attached it to the 4x4, flipped it over and repeated.  After this step you want to make sure everything is square.  The girls helped to make sure it was nice and sturdy.


I gave it a quick coat of spray primer and then a light coat of heirloom white along the edges.  When it was dry 2 minutes later (ha ha, I 'm surprised anything I do turns out because I don't have the patience to wait the recommended time) I gave it multiple coats of flat black spray paint.


Once the black was dry 15 minutes later I used my sanding sponge to distress the edges.


I bought the cheapest hook I could find and sprayed it ORB.  While I waited for this to dry, yes I actually gave it 15 minutes I went in the house to make my sign.  I used the 1x4 I bought and cut it to 11", sprayed it heirloom white, sanded the edges and then inked it with an ink pad.


I used my cricut to cut the vinyl, slapped it on, drilled 2 holes at the top and used beading wire for the hanger.


I have already decided to make some different signs to hang for the different seasons, but for now Welcome will do.


Here is another picture of the front step.  Wondering what all the dirt is doing laying there?  Did I mention I had 2 helpers today and we had a casualty?


Related Posts with Thumbnails