
Showing posts with label Cricut. Show all posts

Monday, August 16, 2010

Chalkboard Wall is Complete!

I am happy to report that the chalkboard has already been used!  I came home from work to see this!

A little love note!
 Last night I decided my chalkboard was lonely and needed a friend.  I dug around in the garage and found a piece of aluminum that was the perfect size.  I cut {blessed} with my Cricut out of vinyl, punched some holes in the metal and hung it up using ribbon.

Bad picture...metal is so picky!  Just a little reminder of how truly blessed we are every day!
We constantly fight about who loves who more...I won this round!

I think it is finished, unless you guys have some amazing idea!  I hope everyone had a great Monday!  I spent most of the day in the ceilings of our new prison, it was miserably hot!  And then I got caught in the biggest thunderstorm of the year, got soaked and then froze!  We are headed out to watch Ben play softball, have a great night!

Friday, August 6, 2010

It's A Start

6 months ago we had the living room, dining room and kitchen painted.  I never hung anything back up on the walls.  Why?  I have a weird thing about nail holes.  I am always worried that I will hang something up, not like where it is and have to fix the hole that I made.

Crazy?  I know!
Well tonight I started hanging things!  And you know what?  I don't think I'm in love with the placement of what I hung up :(

I started with this, cute but I wasn't thrilled. 

 These were all fantastic finds!  The black frame was an ugly gold thing I got at a garage sale for $1, the turquoise frame was a hideous maroon monster that I found at the Dollar Tree and the silver guy used to be ugly brown, I found it at GoodWill for $3.  Thank goodness for spray paint!  After I hung everything up it seemed a little blah, so I got out my Cricut!

Upgrade!  Doesn't it look happier?
Spray painted silver and glazed with black craft paint.
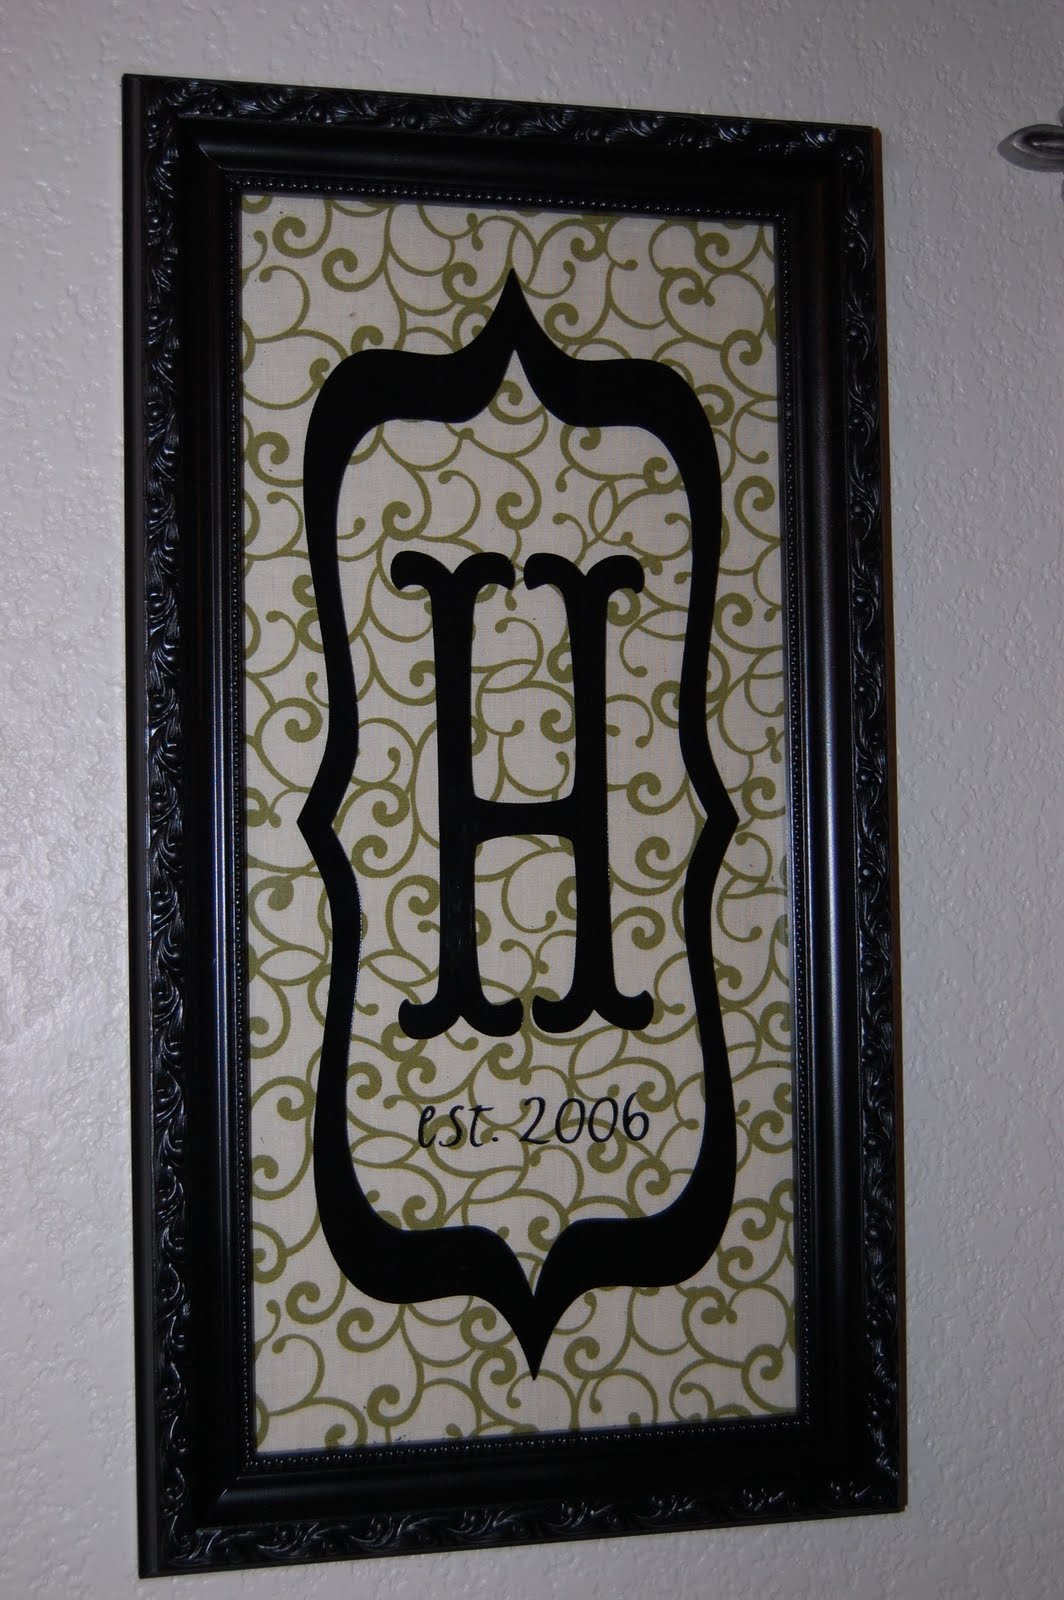
I painted this with Krylon Bahama Sea and then glazed it with Ralph Lauren smoke glaze mixed with a little black craft paint.  I added white burlap behind the glass and cut the vinyl using the Storybook Cartridge.


I love the way this monogram turned out!  I had seen this fabric at Hobby Lobby but was to cheap to buy it full price or even with a coupon, but I found a remnant for $2 and couldn't say no!  I used the Storybook and Calligraphy Cartridge for this one.


What do you guys think?  Does it need to be rearranged or should I leave it alone?  I am a tweaker I can't help myself, but I will practice self control for the night...I think!

Don't forget to enter the $50 CSN giveaway, it ends tomorrow!

Happy 9 o'clock Dance of Joy!

Tuesday, August 3, 2010

Cardboard Canvas

I am back on the birthday bandwagon tonight!  The other day I started wondering what am I going to do with most of the stuff I make for Tay's birthday.  Don't get me wrong, most of it cost hardly anything to make.  But I hate to spend money on things that probably won't be used again.

I wanted to make some signs to put up around the house and in the front yard for the day of her birthday and since my Dad took his saw back I can't cut any of the wood I have in the garage and then I remembered I threw away a cardboard box yesterday.  So I proceeded to dumpster dive and fish it out!
It's cute and basically free!!

I cut out my cardboard to fit a frame I have in my collection.
I painted the cardboard white with craft paint and a foam brush, be sure you do several lite layers or else your cardboard will get mushy.  I used my Cricut to make some stencils and painted away.

Sorry about the white on white :(

I sanded my faux canvas down, I want it to look more like it belongs in a field than in my dining room!  I used the Doodlecharms cartridge to cut out the watermelons and foam dots to adhere it to my cardboard.


I am going to go get some nails with large heads on them and add them to the corners for a little bling!  I think it turned out really cute and maybe I won't feel so bad getting rid of it when we are done with it because it's only cardboard, unless someone else has an amazing idea on what to do with the b-day stuff when we are done!  I can't wait to make some more!

Saturday, July 31, 2010

Birthday Signs!

Are you guys tired of Watermelons yet?  I hope not cause I have lots more to come!  Tonight I worked on the signs for my front step sign hanger things!  And guess what?  I didn't use vinyl this time, but I did use my Cricut!


I made stencils using the Calligraphy cartridge and CDS and painted all the letters!  I used the sander to make everything look a little old, added a couple of Watermelons, some ribbon and my favorite cheap upholstery tacks from WalMart.  I can't wait to hang them up....34 days and counting!

Don't forget to enter my $50 CSN giveaway here!

Friday, July 30, 2010

Quatrefoil Cut File!

I decided to take a break from the birthday projects for a night because I am obsessed with quatrefoil.  Is anyone else obsessed with Quatrefoil?  I have seen so many amazing quatrefoil projects floating around blog land and decided that I had to make something!  Here is my inspiration...
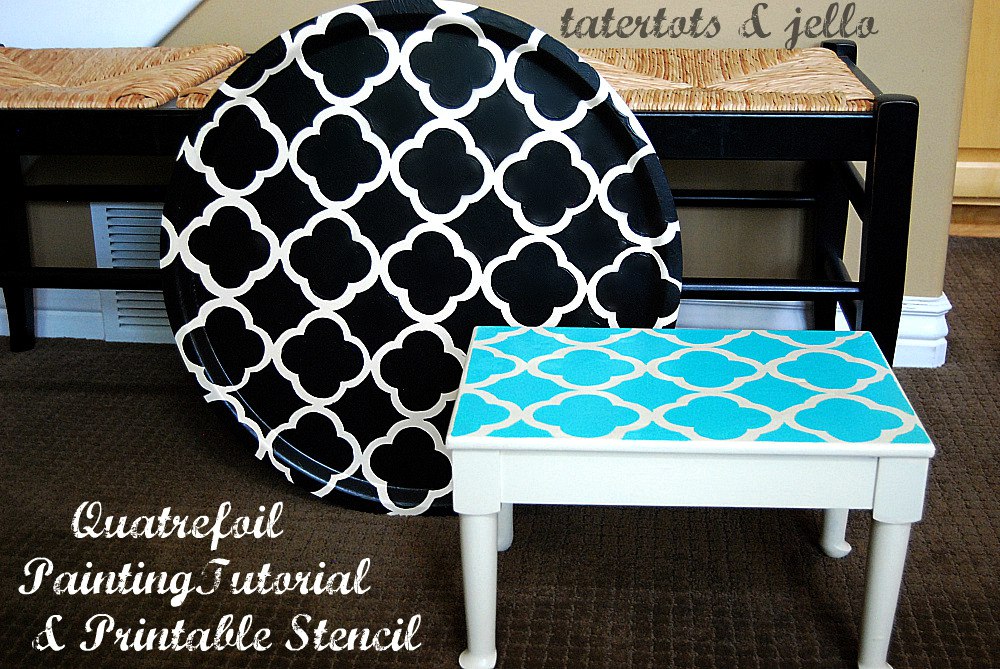
The ever amazing Jen of Tatertots and Jello showed off her amazing projects and provided a free stencil download at the CSI Project here.

 
And Amanda at Imperfectly Beautiful showed us her gorgeous wall art here.

I just recently found Shelley at the House of Smith's.  Look at her amazing pantry makeover, isn't it do die for?

I decided that I could use my Cricut and Design Studio to make my own stencil/template.  Here is what I spent the last 3 hours doing.


I probably could have cut Jen's stencil out about 50 times!  But look what the finished result is.

I have big plans for this!  I used the Plantin SchoolBook Cartridge.  In the demo mode of Cricut Design Studio you can cut with the cartridge your Cricut came with, so if you don't have or want to buy CDS but your Cricut came with the Plantin SchoolBook cartridge you can cut this file!

If you are interested leave me your email address and I will email you the .cut file!

Wednesday, July 28, 2010

Watermelon Anyone?

I am in birthday mode!  Only 5 weeks til Tay turns 2 {insert tear here}.  I finished her invitations tonight!  And of course since it's 10 o'clock I can not get a decent picture, I will try again tomorrow when the sun is out.  But for now here they are!

Tay ♥'s Watermelon!


Have I mentioned that I now ♥ my sewing machine?  Paper is so much easier to sew than fabric, there are no folds or seams that I have to worry about!  I have seen so many cards on etsy that are embroidered that I figured I would give it a try.  It was so easy!

I figured out a little trick!  It only took me 3 cards to figure out because I was too lazy to get up and google sewing paper!  There is an annoying string that shows on the front of the card and I knew I couldn't cut it off because my card would fall apart because I was too lazy to glue the pink paper to the green paper before sewing it!

Notice the annoying string?
 Carefully pull your bottom(bobbin) string from the back of the card.  It will create a loop like the picture on the right.  Gently pull the loop until the annoying string is pulled all the way through and both of your strings are on the back.

So much prettier without said annoying string!
I used my cricut to cut the watermelons using the Doodlecharms cartridge.  I found the paper at Hobby Lobby, it is My Mind's Eye Penny Lane Collection.  I cut the seeds out of glitter card stock.

I think they are finished...part of me wants to add something else to them.  "Hi my name is Kenzie and I can't leave well enough alone."  I need an intervention!  Hope everyone has a great night!

Featured at Craft-O-Maniac

Saturday, July 17, 2010

Harley Inspired

I am finished with my latest project!  It was miserable and I hated it 50% of the time that I was making it but I think it turned out awesome!


Harley Davidson inspired invitations!  My good friend is throwing a surprise birthday party for her boyfriend!  When she asked me if I would make the invitations I was hesitant to say yes because I usually don't do "boy" stuff let alone "man" stuff.  Fortunately for me he happens to be a biker and happens to ride a Harley!  So in true Harley style I used black, white, orange and grey.  The skull was easy, it looks tough and bikerish but it wasn't enough.  So I added metal mesh and hand-made barbwire.


The barbwire was the worst idea ever, but completely genius!  My fingers hurt so bad from wrapping wire.  But I think it adds the right touch of "man bling" to the invite!

I used the Indie Art cartridge from Cricut for the skull.  The skulls were also a huge pain in the you know what!  I inked the skulls and the crossbones.  The crossbones were not attached to the skull so I had to glue them all on...Boo!


Thank goodness for my spray adhesive!  Have I ever told you how much I love that stuff?  Oh yeah, I did here.  It is strong enough to adhere the metal mesh to the card, love, love, love it!


This project was a success, thank goodness....not that I was worried or anything!

Featured at Life in the Pitts

Monday, June 28, 2010

4th of July Decor....Finally

I finally found the time quit being so lazy to make 4th of July signs for my front step post things, click here and here to see them in the making!


I used a 1x4 for the following project.  I cut a piece 11" long, another piece 4" long and the last piece 7" long.  I set the 4" piece aside and cut the other 2 pieces into thirds.


I didn't really have to cut the boards into thirds, but it made it so much easier to paint the stripes, I didn't have to tape anything off!


After I gave my paint approximately 3 minutes and 48 seconds to dry, I glued it back together using wood glue.  After letting the wood glue sit for approximately 4 minutes, I took it out to the garage and sanded and glazed it.  I kind of wanted it to look dirty and old.


Dirty and old?  Check!  Next I cut a few stars out of vinyl to finish my flag!  The little wood block is supposed to be a firework, I was running out of time before the girls woke up from their nap, but at least it passes the red, white and blue test!


At least my front step is ready for the 4th of July!


Related Posts with Thumbnails