


6 months ago we had the living room, dining room and kitchen painted. I never hung anything back up on the walls. Why? I have a weird thing about nail holes. I am always worried that I will hang something up, not like where it is and have to fix the hole that I made.
Crazy? I know!
Well tonight I started hanging things! And you know what? I don't think I'm in love with the placement of what I hung up :(
 | |||
| I started with this, cute but I wasn't thrilled. |
These were all fantastic finds! The black frame was an ugly gold thing I got at a garage sale for $1, the turquoise frame was a hideous maroon monster that I found at the Dollar Tree and the silver guy used to be ugly brown, I found it at GoodWill for $3. Thank goodness for spray paint! After I hung everything up it seemed a little blah, so I got out my Cricut!
 |
| Upgrade! Doesn't it look happier? |
 | |
| Spray painted silver and glazed with black craft paint. |
 | ||
| I painted this with Krylon Bahama Sea and then glazed it with Ralph Lauren smoke glaze mixed with a little black craft paint. I added white burlap behind the glass and cut the vinyl using the Storybook Cartridge. |
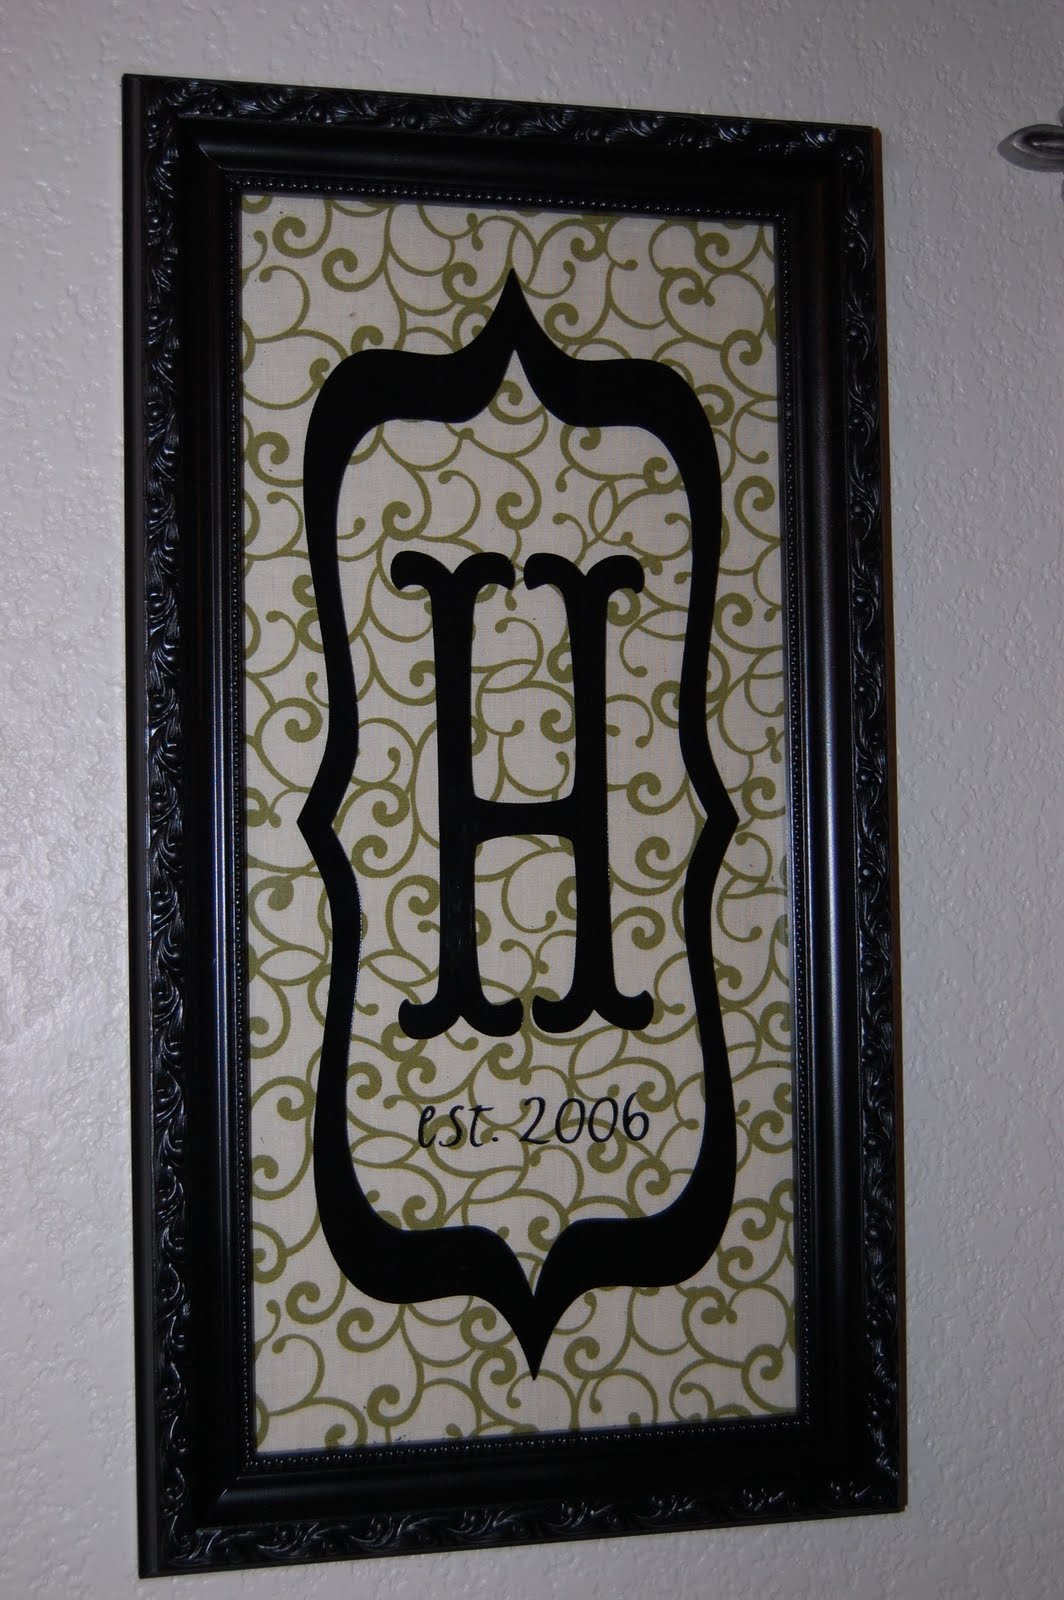

I love the way this monogram turned out! I had seen this fabric at Hobby Lobby but was to cheap to buy it full price or even with a coupon, but I found a remnant for $2 and couldn't say no! I used the Storybook and Calligraphy Cartridge for this one.
 | ||
What do you guys think? Does it need to be rearranged or should I leave it alone? I am a tweaker I can't help myself, but I will practice self control for the night...I think!
Don't forget to enter the $50 CSN giveaway, it ends tomorrow!
Happy 9 o'clock Dance of Joy!