Sunday, September 26, 2010

Dining Room Shelves

I have been a blog slacker this month!  I can't believe it's already September 26!  Where did the month go?!?!

Not a whole lot going on this past week but work and laundry.  Boo!  But I did rearrange the shelves in my dining room again and thought I would show them to you because that's all I have done lately!
Painted pumpkins and apothecary jars.
Mini monogram pumpkins and some of my favorite candlesticks!
Halloween Ribbon Wreath

The rest of my favorite candlesticks, $3 Better Homes & Garden charger from WalMart

My festive little shelves!  I hope everyone had a great weekend!

Wednesday, September 22, 2010

I Should Have Been a Repairman

I really think I missed my calling in life.  I should have been a repairman.  Remember how I fixed my dryer and found the city of Lintville?  Ugh!  Thank God our house didn't burn down.

Well tonight I started dinner and turned on the garbage disposal.  What?  Why aren't you chewing up my food?  So I turned it off and turned it back on.....all I heard was a hum.  Maybe you can turn it off and back on like a computer and it will work right.  Not so much.
So I called my uncle and told him about my dilemma and he told me the secret to fixing the garbage disposal!

I love that it has a name!
So my garbage disposal came with this nifty little tool that I am still amazed that I found!  If you can't find yours get out a set of allen wrenches.

Check out the bottom of your garbage disposal...the side that's under the cabinet and not in the sink, not that I stuck my hand in the nasty water or anything.

See the hole in the bottom of the garbage disposal?  That is the manual grinder or something like that.
 Stick your garbage disposal tool into the hole.  Normally your tool should turn freely side to side.  Not mine, it was stuck.  So I had to manually grind up whatever was stuck in there.  Just turn back and forth until your tool moves freely.


Turn your garbage disposal back on and it should work!  Yay!!!  I fixed my own garbage disposal and there for should be a service repairman!
One happy sink!  And one more thing to add to my resume!

My Very Own Window

I am so excited that my old window is finally hanging on the wall!

I apologize in advance, the one day I finally remember to take pictures during the day instead of at night and it's cloud, overcast and cold.  :(


I am kind of infatuated with it!  I didn't do a whole lot to it, I sanded it down and painted it with white craft paint, sanded some more and then  wiped it down with some black stain that I had in the garage!

And the best part is that I now how more room to decorate because the disgusting fish tank is gone!  Here is a before.  Blah!
Goodbye fish tank, hello window!  Now I have an excuse to go to Hobby Lobby and buy more stuff to decorate with!  I found an old trunk at the thrift store yesterday, I'm not sure where I am going to put it yet.


It's old and beat up, but all of the leather handles are attached, the two buckles work and even the 2 leather straps inside are still there!  I think the main reason I really liked this one was the tag!

The Denver Union Terminal Railway Company
 I'm not sure how old it is, but it looks old and I liked it!  And I couldn't beat the price, it was only $10!

Sunday, September 19, 2010

Hi!  I hope everyone has had a great weekend!  Thought I would catch up with what we did this weekend.  My friend Chalea and I took our kids to the Pioneer Days Parade in Florence which is about 15 minutes away from where we live.  It is the cutest town with tons and tons of amazing antique stores!

Ace, Asher, Piper, Taylor and Kielyn....it's impossible to get 4 toddlers to look at the camera at the same time or even at all!
He is so stinking cute!
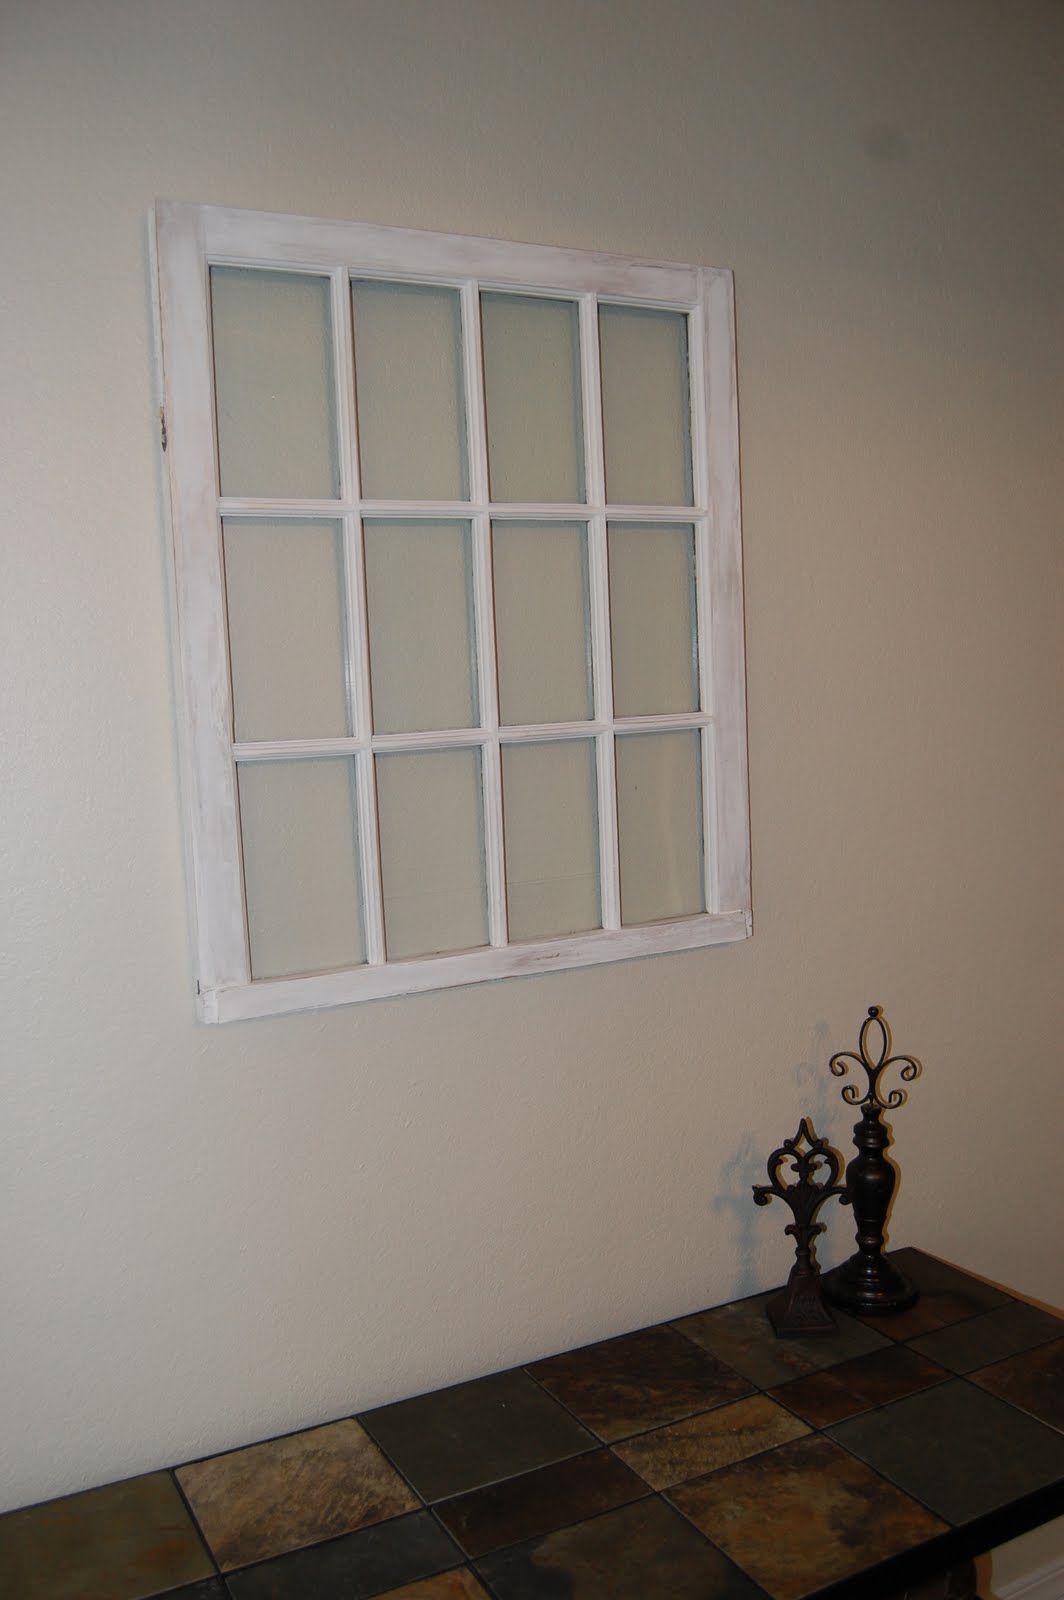
 We sat in front of one of the amazing antique stores and sitting right outside their front door was an old 12 pane window...looking really lonely.  Luckily Ben decided to show up last minute.  When he sat down, I didn't even say hi, I just told him that "I need the debit card."  He handed me the card and I said "watch the girls, I will be back in 5" and then I ran into the store.  And look at this....
forgot to flip the pic...sorry!
$20 dollars, um hello, wrap that sucker up!!  And what's even better is that it was 25% off.  Hello window for $16.  I think it was a steal!

Decent side
Disgusting :(  Luckily no one will ever see this side!
I spent nap time yesterday and today sanding, painting, sanding, sanding, painting and a little more sanding!  She is ready to hang!  I just don't know how I am going to hang it yet, but hopefully I can show you tomorrow what it looks like finished!

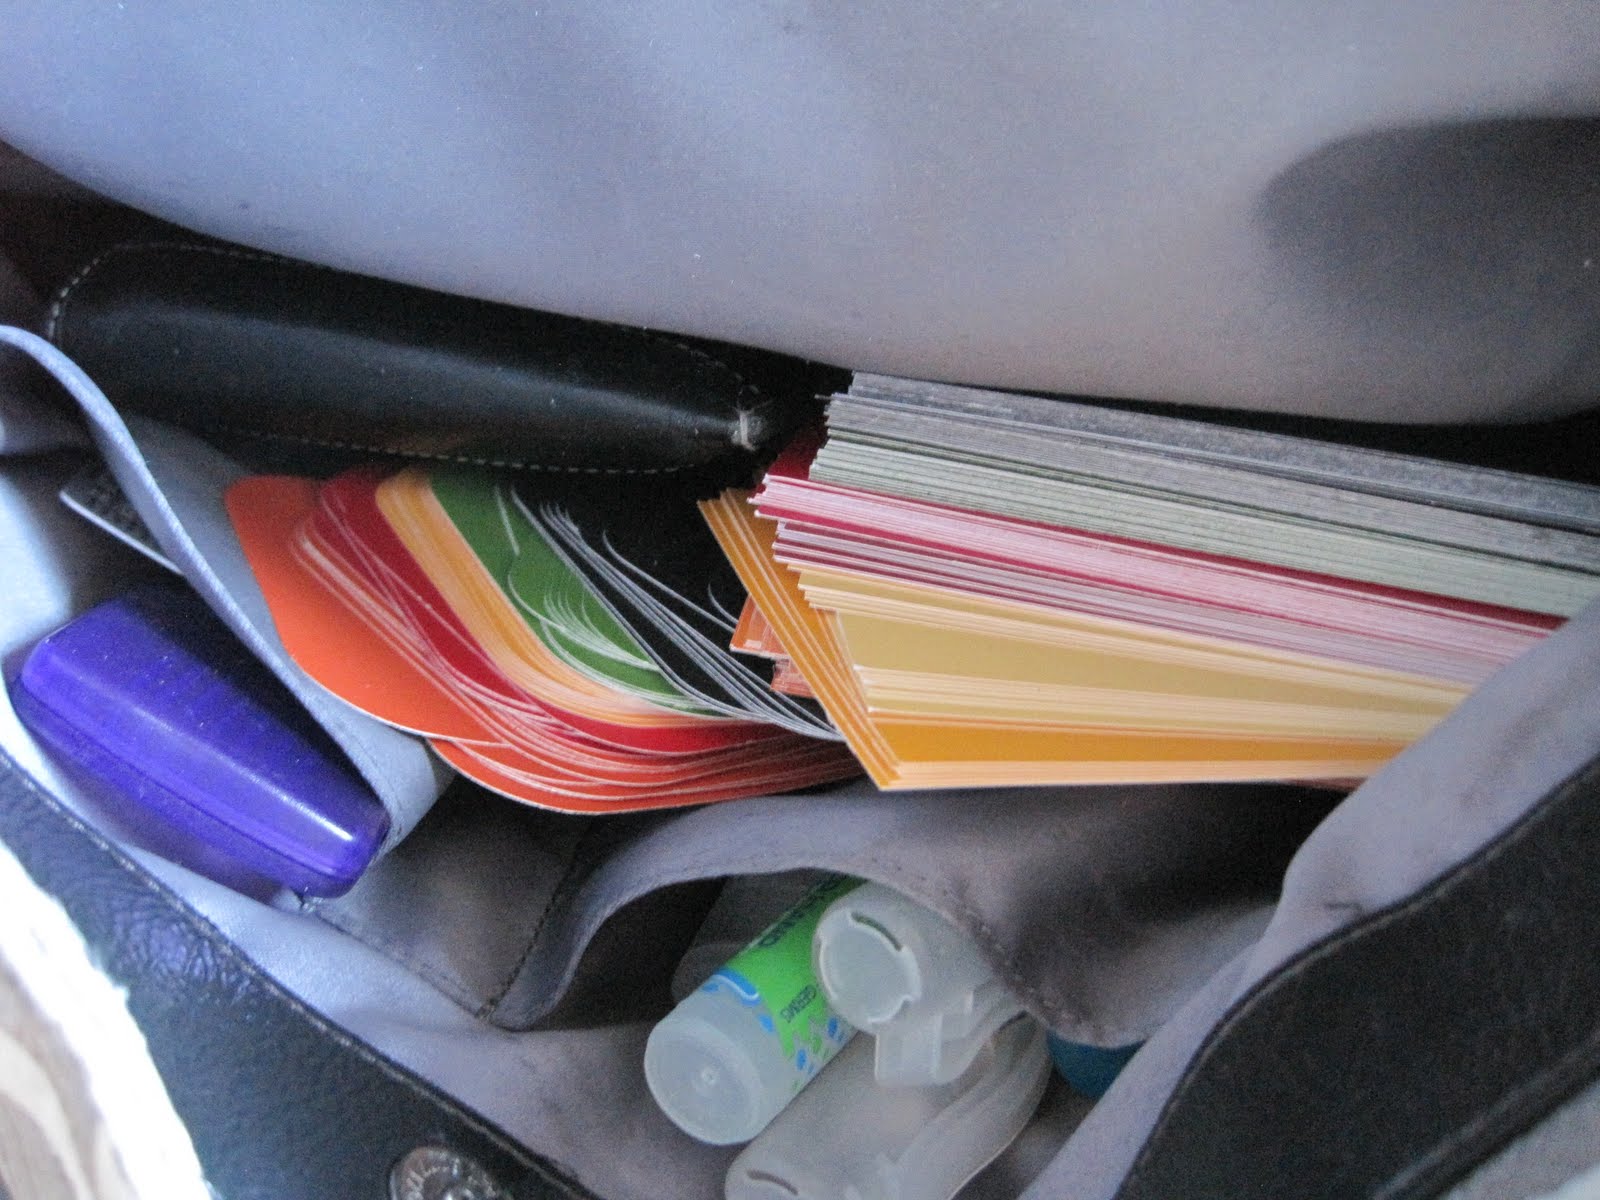
Today I went to Home Depot because I wanted to buy the new Dremel Trio, but when I got there I thought maybe I should just buy a jigsaw instead.  After standing in the same aisle for 30 minutes without being able to make up my mind I put everything up and headed home.  But not before I got some paint samples, because I have seen so many cute projects using paint samples so I thought I would try some of my own.
Normal people would only take 1 of each color right?


Not me, I stocked up.  Thank you Home Depot!

Friday, September 17, 2010

I ♥ Overstock.com and So Will You!

Happy Friday Everyone!

I am so excited it's Friday!  That means after 4 pm today I am off for a whole 2 days!  Yay!  And do you want to know what makes this Friday even more special than a normal Friday?
A discount code to Overstock.comOverstock.com is a wonderful site that has just about anything you can every dream of wanting!  And wait for it.....$3 shipping no matter what you order!  Um hello Christmas shopping in my undies!

I have already been browsing and making my shopping list!  Here are a few of my faves!
An amazing Cuisinart Coffee Pot {I know I already have a Cuisinart coffee pot that grinds the beans for you, but this one is way cooler}  Who can start their day without coffee?!?!

An amazing 6 1/3 ct Diamond Ring that sells for $117,178.99, I am so buying this next week after I receive my state employee paycheck  {I have to have dreams too}

Or how about this amazing metal hanging Light?!?  {Do you suppose we could make something like this out of thick vellum and Cricut...I do, but that totally defeats the purpose of shopping on-line}

The discount code is: 121728  

What is better than a 10% discount code and $3 shipping?  Shopping in your undies!  Remember to check out Overstock.com!

All the ideas and opinions expressed are my own. No monetary compensation was received for doing this post, however, I was provided with a discount code.

Wednesday, September 15, 2010

Another Inspired Wreath

Have I ever mentioned how inspired I am by Jen at Tater Tots and Jello?  She makes the most amazingly adorable wreaths!  I copied her Burlap Wreath here.  Well a couple of weeks ago she made an adorable ribbon Halloween wreath here, you have to see it!

So I made my own cute little inspired Halloween wreath!

I followed the tutorial on Jen's page!  It was a little time consuming but it turned out really cute!  I used a foam wreath from the dollar store and wrapped it in muslin.  I found all of the ribbon at WalMart.


Not quite sure where I will put it yet, it will go hang out in the closet until it's closer to Halloween!  But it's another craft checked off my to do list!  Thanks for the inspiration Jen!!!

Monday, September 13, 2010

A Small Herd of Spiders

Because I am impatient and one of my readers mentioned making the legs longer I had to make more spiders!  Eek!  Now I hate despise real spiders, so I didn't want mine to be scary, I wanted them to be cute!

Semi Transparent Polka Dot Ribbon
Black Cotton Fabric
Black Grosgrain Ribbon
Black Cotton Fabric
 I think they are so stinking cute!  And they cost next to nothing!  I spent $1 on the table tennis balls at the Dollar Tree and I had everything else!  Yipee!

Dollar Tree Purchase, also used these in my apothecary jars
The table tennis balls measured 5" around, so I made 4 marks on each side 2.5" across from each other.
4 dots on each side
Next I used a teeny tiny drill bit and drilled the holes.


I cute 4 pieces of 20 gauge wire approximately 6" long and threaded it through my spider.
This is were my tutorial falls apart.....Blonde Moment!  I forgot to take pictures of the rest.  Boo!!  Anyway, make sure your wires are even and hot glue on each side.  It doesn't matter what it looks like because you will cover it up.
*When I make more I will update with pictures!*
Take your fabric or ribbon and hot glue it to the bottom.  Start wrapping your soon to be spider!  When I needed to change directions I would cut the fabric and hot glue it to the bottom and start over again.  You can wrap as much or as little as you like, I just made sure to cover all the white spots.
When you are finished wrapping, bend your legs down so your spider stands on its own.  You may have to trim a leg or two.  You can use whatever you like for the eyes, 1 of my spiders has silver sharpie ovals for eyes.  For the other spiders I found some really cute "eye" ribbon at WalMart.  I cut out 3 sets of eyes and hot glued them on.

I really want to make some more, but I need to go buy some more ribbon for variety!  How cute would a gingham spider be?!?! 

Featured on Bobbypin's Boardwalk
Related Posts with Thumbnails